
In Sydney, Christmas falls in the middle of summer; this also happens to be when cherries are at their best. My recipe this week uses dried cherries, which I managed to track down at a local health food store, and pistachios, for their green christmasy colour. This recipe makes a lot of fudge, so it is perfect for sharing and / or giving as home-made gifts to friends and family. I ended up making a double batch so that I would have plenty to go around. I wrapped squares of fudge in clear cello gift wrap then placed them in gift bags and boxes as presents.
With the salt quantity specified below, this is specifically for salt flakes, if you are using regular table salt proceed with caution and only use 1/4 of a teaspoon or less.
What I was cooking this time last year: Raspberry, Goat Cheese and Pistachio Salad
Chocolate Fudge with Cherries and Pistachios
Ingredients:
- 75g butter
- 395g tin condensed milk
- 250g brown sugar
- 1/2 teaspoon salt flakes
- 1 teaspoon vanilla extract
- 220g dark chocolate
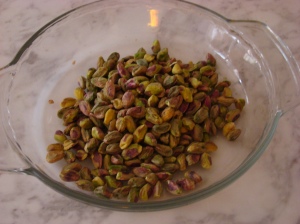
- 100g pistachios
- 125g dried cherries
- Cooking oil spray to grease your tin
Method
- Pre-heat the oven on to 180°C.
- Transfer the pistachios to an oven proof dish and roast in the oven for 10 minutes, then set aside to cool.
- Line a tray with grease-proof paper and spray with cooking oil.
- Add the butter, condensed milk, vanilla, salt and brown sugar to a saucepan.
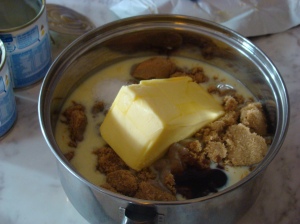
- Stir the saucepan of fudge mixture over a medium heat until the butter is melted and the fudge starts to thicken.
- Remove the saucepan from the heat and add the chocolate. Stir to combine.

- Add the cherries and pistachios to the chocolate fudge and stir to combine.
- Pour the fudge into the lined tray and refrigerate until cool.
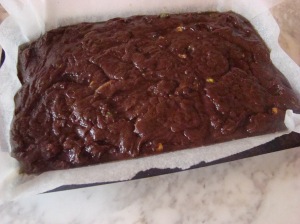
- Remove the fudge from the tray and peel off the grease-proof paper.
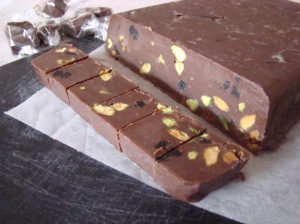
- Cut the fudge into serving size pieces. Your fudge is ready to serve or wrap for gifts. Enjoy.
What are your favourite christmas flavours? Has this post inspired any new ideas?


